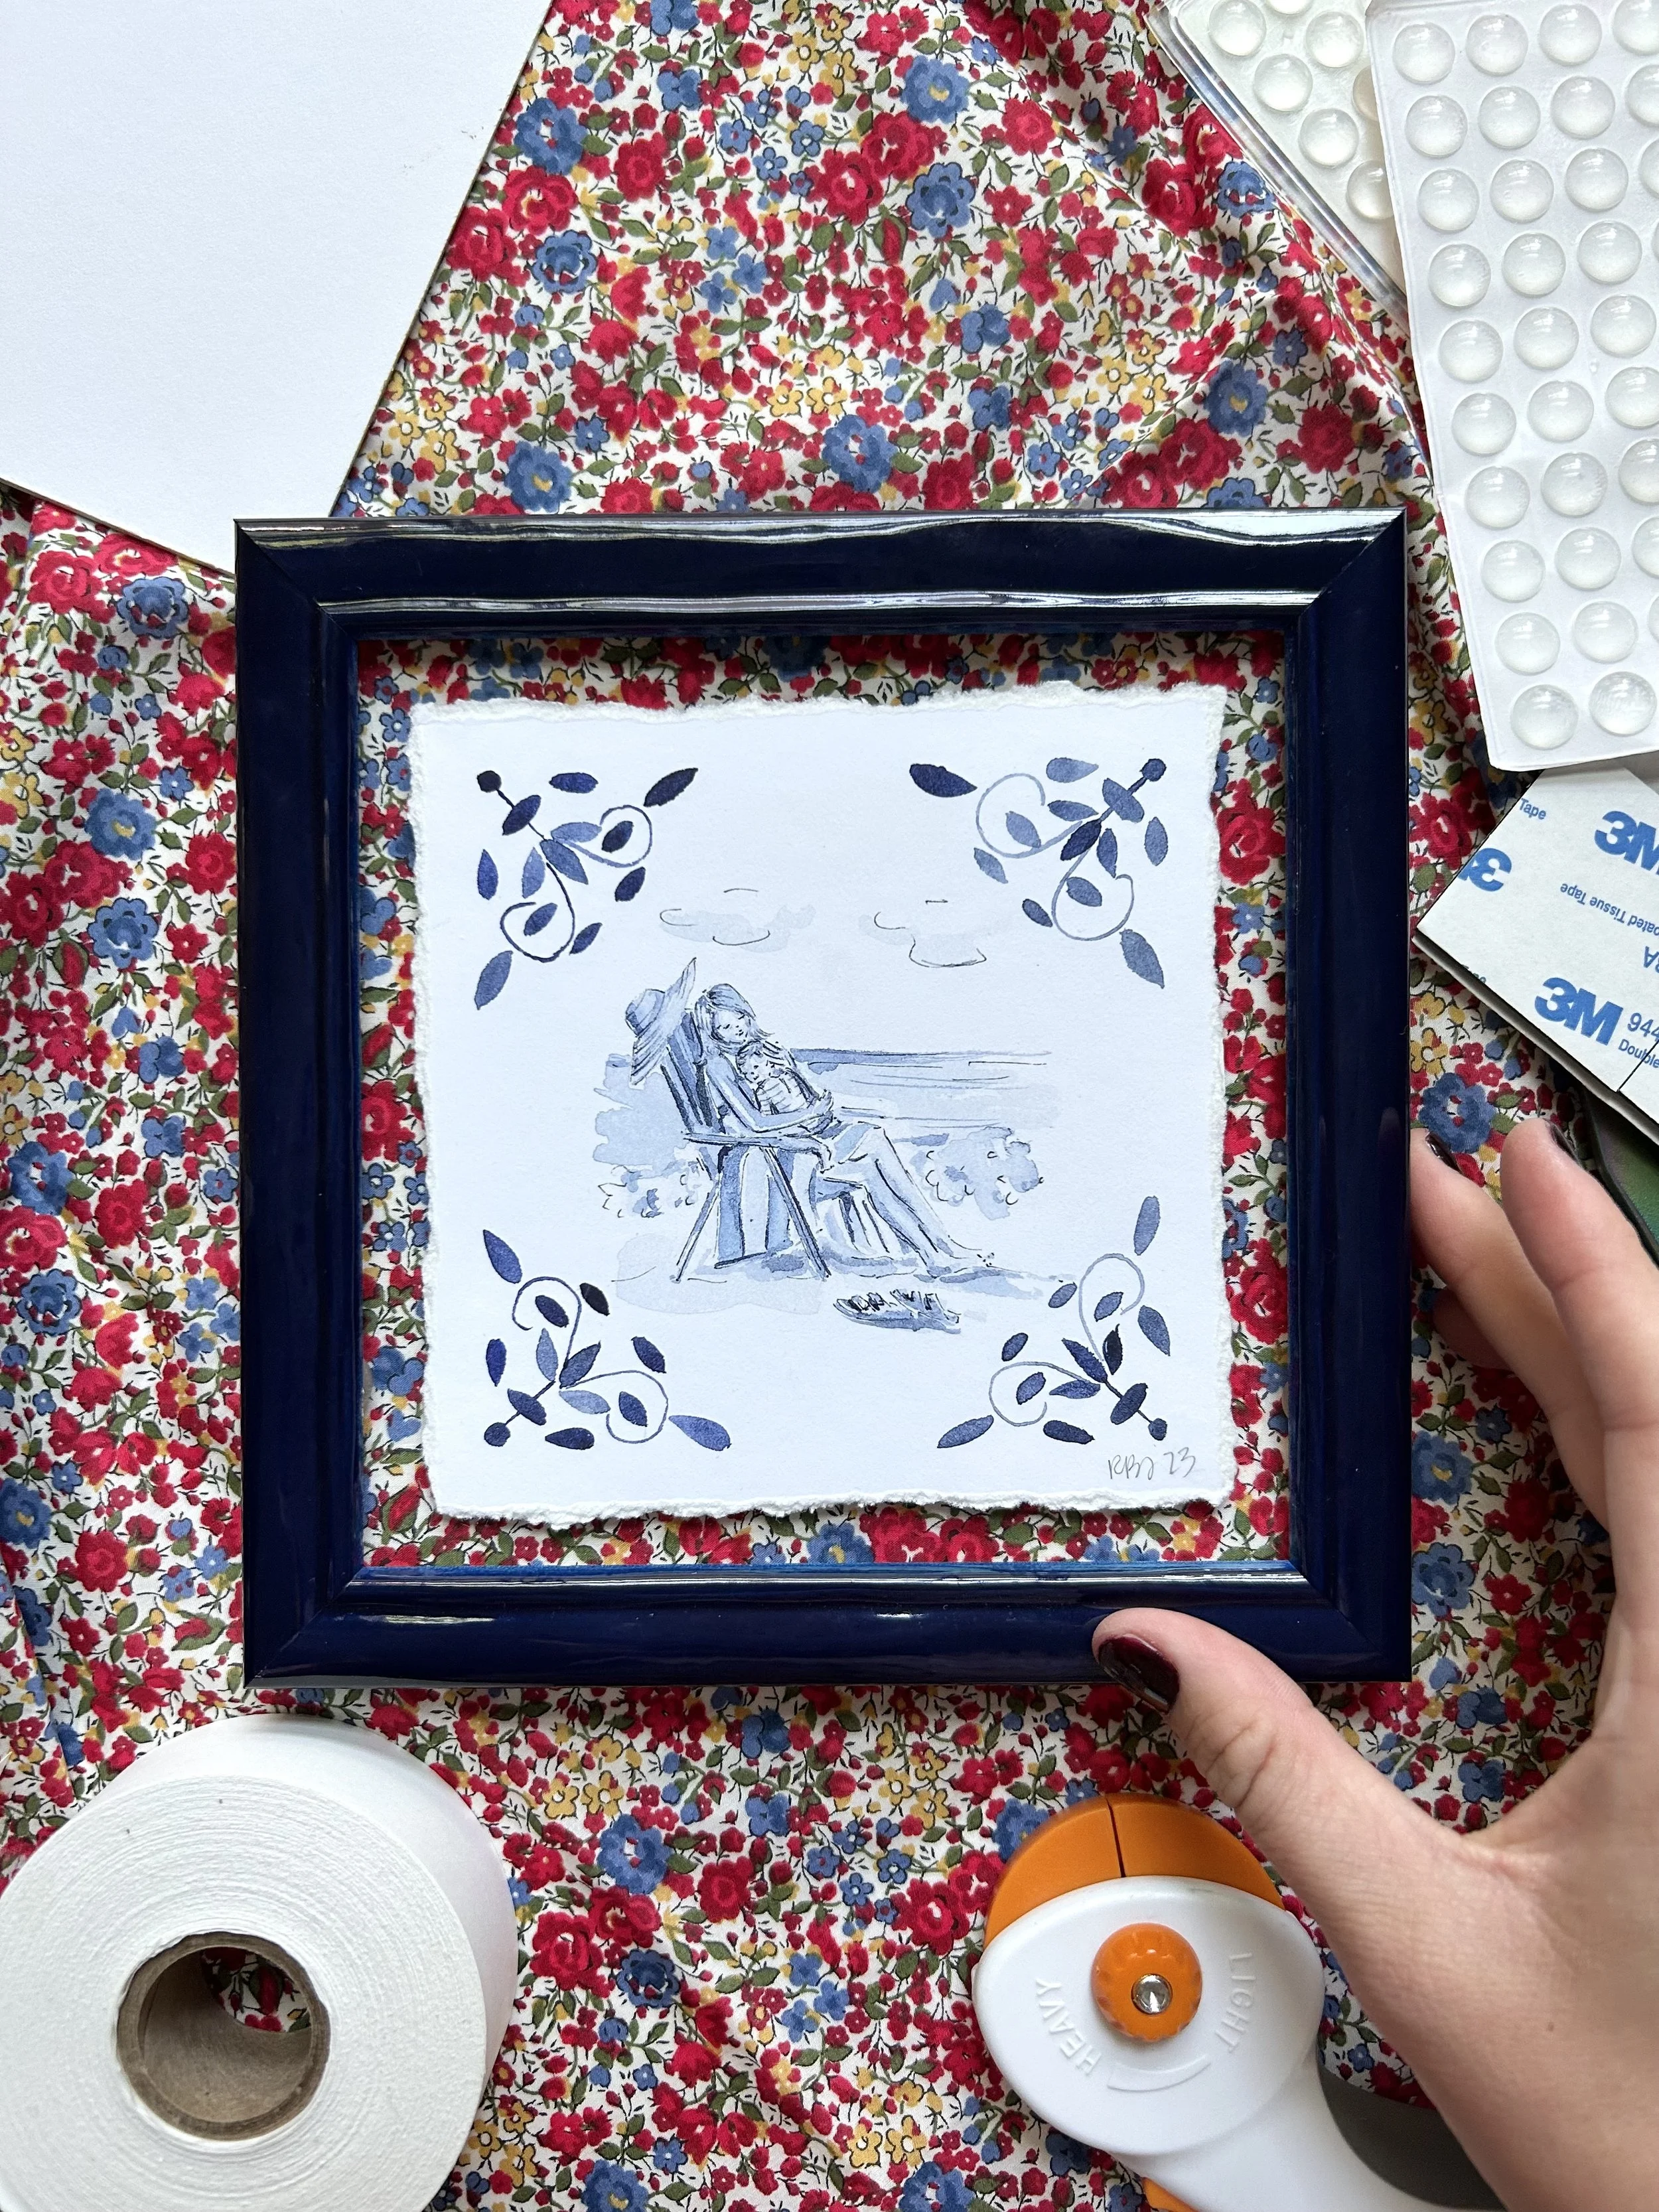
DIY Float Framing on Fabric
As I have been creating more artwork with deckled/torn edges, and we have added prints with deckled edges to our shop (and continue to do so!), I’ve been doing a lot more DIY-framing. I thought I would take a few minutes to share what I typically do to “float” artwork on a fabric mat so that the edges of the artwork (I have always loved a deckled edge!) aren’t hidden by a mat or picture frame.
Materials
Picture frame (0.5” or more rabbet depth recommended) with an interior that measures at least 1” larger than your piece of artwork
Scissors
Ruler
Pencil
Paper cutter or boxcutter
Fabric
Instructions
Disassemble frame and cut a piece of matboard to fit the frame’s interior (should be the same size as the glass!). You can use a heavy duty papercutter or a boxcutter, straight edge, and a cutting mat.
Cut a piece of fabric that is about 1” larger than the mat (so if the mat is 6x6, the fabric should be 7x7).
Place your fabric upside down on a surface and place your piece of matboard on top of it so that there is about 0.5” border of fabric around your mat. Starting with the opposite sides first, wrap the edges of your fabric around the matboard, securing with your fabric glue. When you are finished, let dry, and then flip your fabric-covered mat so that it is right-side up.
Cut a piece of matboard about 0.5” smaller than your artwork (so, if the artwork is 5x5, the matboard should be about 4.5”x4.5”). Stick a double-sided foam tape square on each corner of your matboard.
Secure the smaller piece of matboard to the center of your fabric covered matboard using the double-sided foam tape squares.
Using a reinforced v-hinge (linked here), secure your artwork to the uncovered, centered matboard. Set aside.
Cut four of your clear adhesive bumper pads in half. With only the glass in your frame, facedown, stick two bumper pad pieces on the inside of each of the four sides of the frame glass. The lip of the frame should cover the bumper pads so that you won’t be able to see them once the frame is assembled. The bumper pads will work as frame spacers, to separate the glass from the mat, allowing the artwork to “float.”
Place your covered matboard/artwork facedown on top of the glass/frame.
Re-assemble frame with backing.
If the artwork/matboard combo is too thick for the original picture frame points, you can use a point driver to add your own- I do this a lot with my thicker mixed-media artwork!
A few favorite frame sources
If I am having something professionally framed, I almost always go with Framebridge and love their natural wood frames- but for DIY, I love looking for fun and unique frames. Here are a few of my favorite sources:
Bertola Home Studio- my favorite frames!


