
DIY Series: Blockprinting
Materials

Printmaking paper (I love BFK Rives)
Formica blocks for mounting rubber blocks
Block printing press (optional)*
Acrylic sheet or piece of glass (I use one from an old 8x10 frame)
Process
Prep paper- I like to deckle the edges with stainless steel ruler, making paper about 1” large than the printing block I’m carving. I do this by first marking off where I want to tear the paper, and then placing a stainless steel ruler on top of the paper. While holding down on the ruler with one hand, I slowly tear the paper along the edge of the ruler.

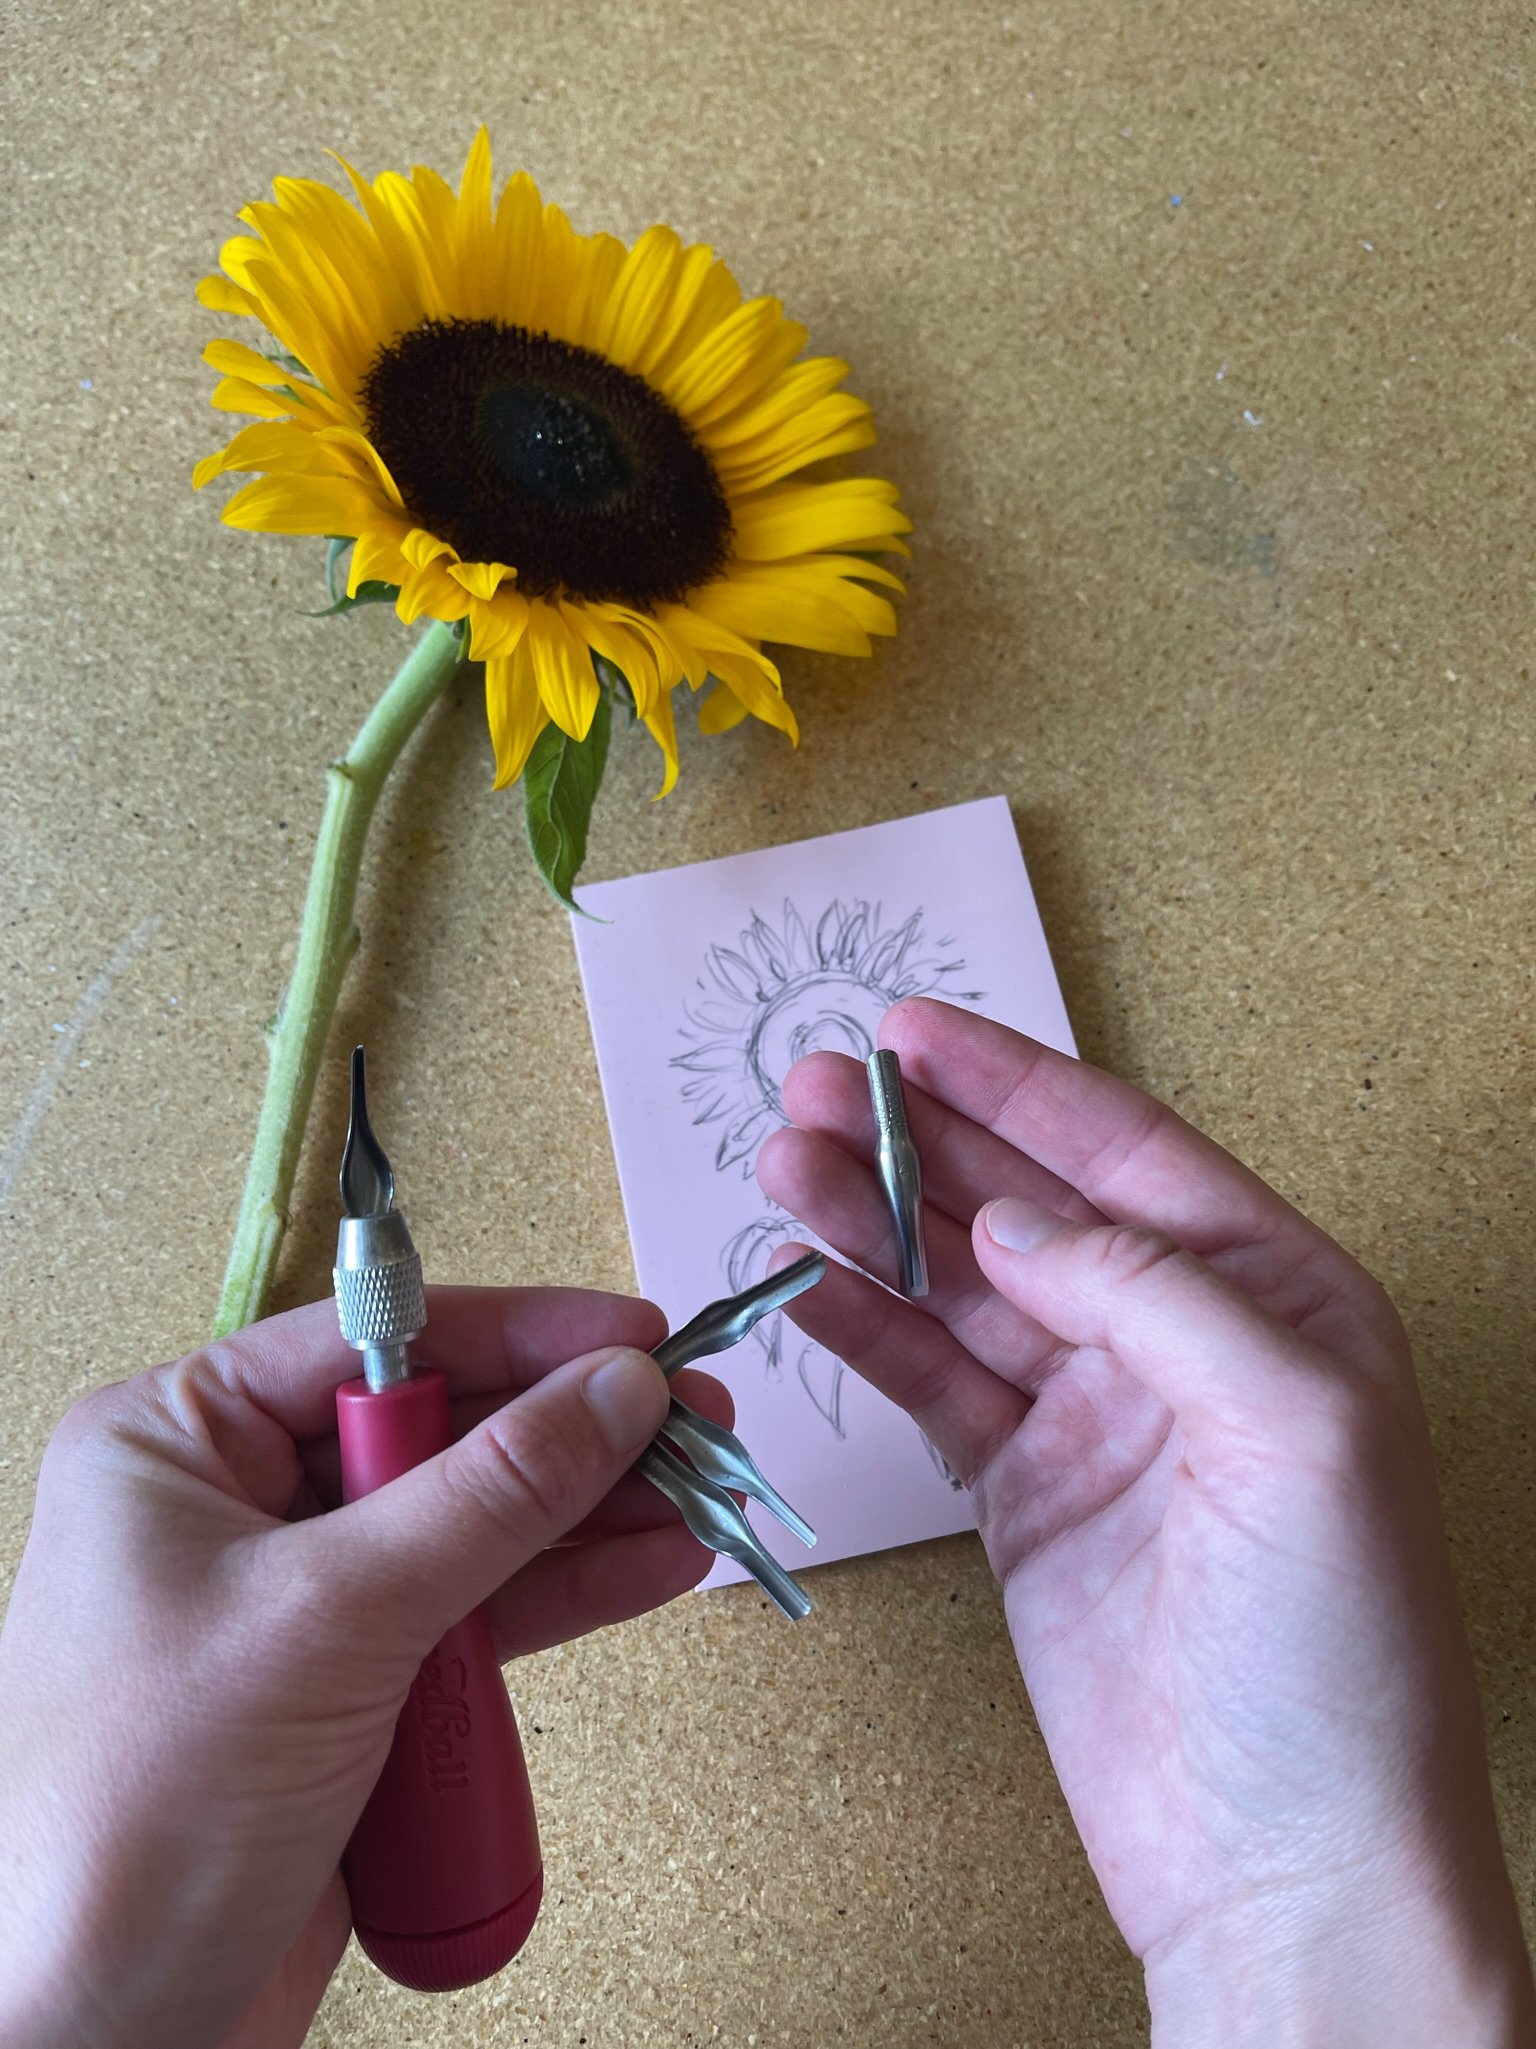
2. Draw design on rubber block with pencil- don’t worry about making mistakes! The pencil will not print.

3. Carve away either the design, or the negative space surrounding the design. Two things to keep in mind while you are carving-
The part that you carve away will NOT print- the only part of the design that will print is the part that you leave uncarved!
Everything will print in reverse, so if you want to include text in your design, keep this in mind
The size of your tool matters! You can change out the tips on your lino cutter, and the number on the tip corresponds to its size. 1 is the smallest, 6 is the largest. Use the smaller tips (1-3) for finer details, and larger (4-6) for carving out negative space, or larger details.
I typically like to start with a small tip (1 or 2), outlining the full design, then work my way up to larger areas with larger tips.
Always carve away from yourself/your body! The lino cutter tips are tiny but very sharp- I have cut myself many times.

4. Mix blockprinting inks
I use an old tupperware bowl and a plastic spoon - doesn’t have to be fancy! I like using airtight containers for mixing inks so that I can save new colors.
The Speedball water-soluble inks are great but can be heavily saturated/a little bright- to make the colors more muted, I either mix them with white ink, or their complementary colors (so I’ll mix in a little red with green, for example).

5. Place a spoonful (I usually start with around a teaspoon) of ink onto your sheet of acrylic or glass. Roll out the ink with your brayer until there is a thin, even rectangle of ink on the surface of the acrylic/glass (this is kind of like a stamp pad), and a thin, even coating of ink on your brayer. When the amount of ink is just right, rolling across your “stamp pad” with your brayer will make a sticky/tacky noise.
6. Adhere your carved linoleum to a formica block to make it easier to handle- I use a glue gun, and once I’m finished printing a piece of linoleum, I just peel it off the formica block so that I can reuse the formica block with another piece of linoleum.

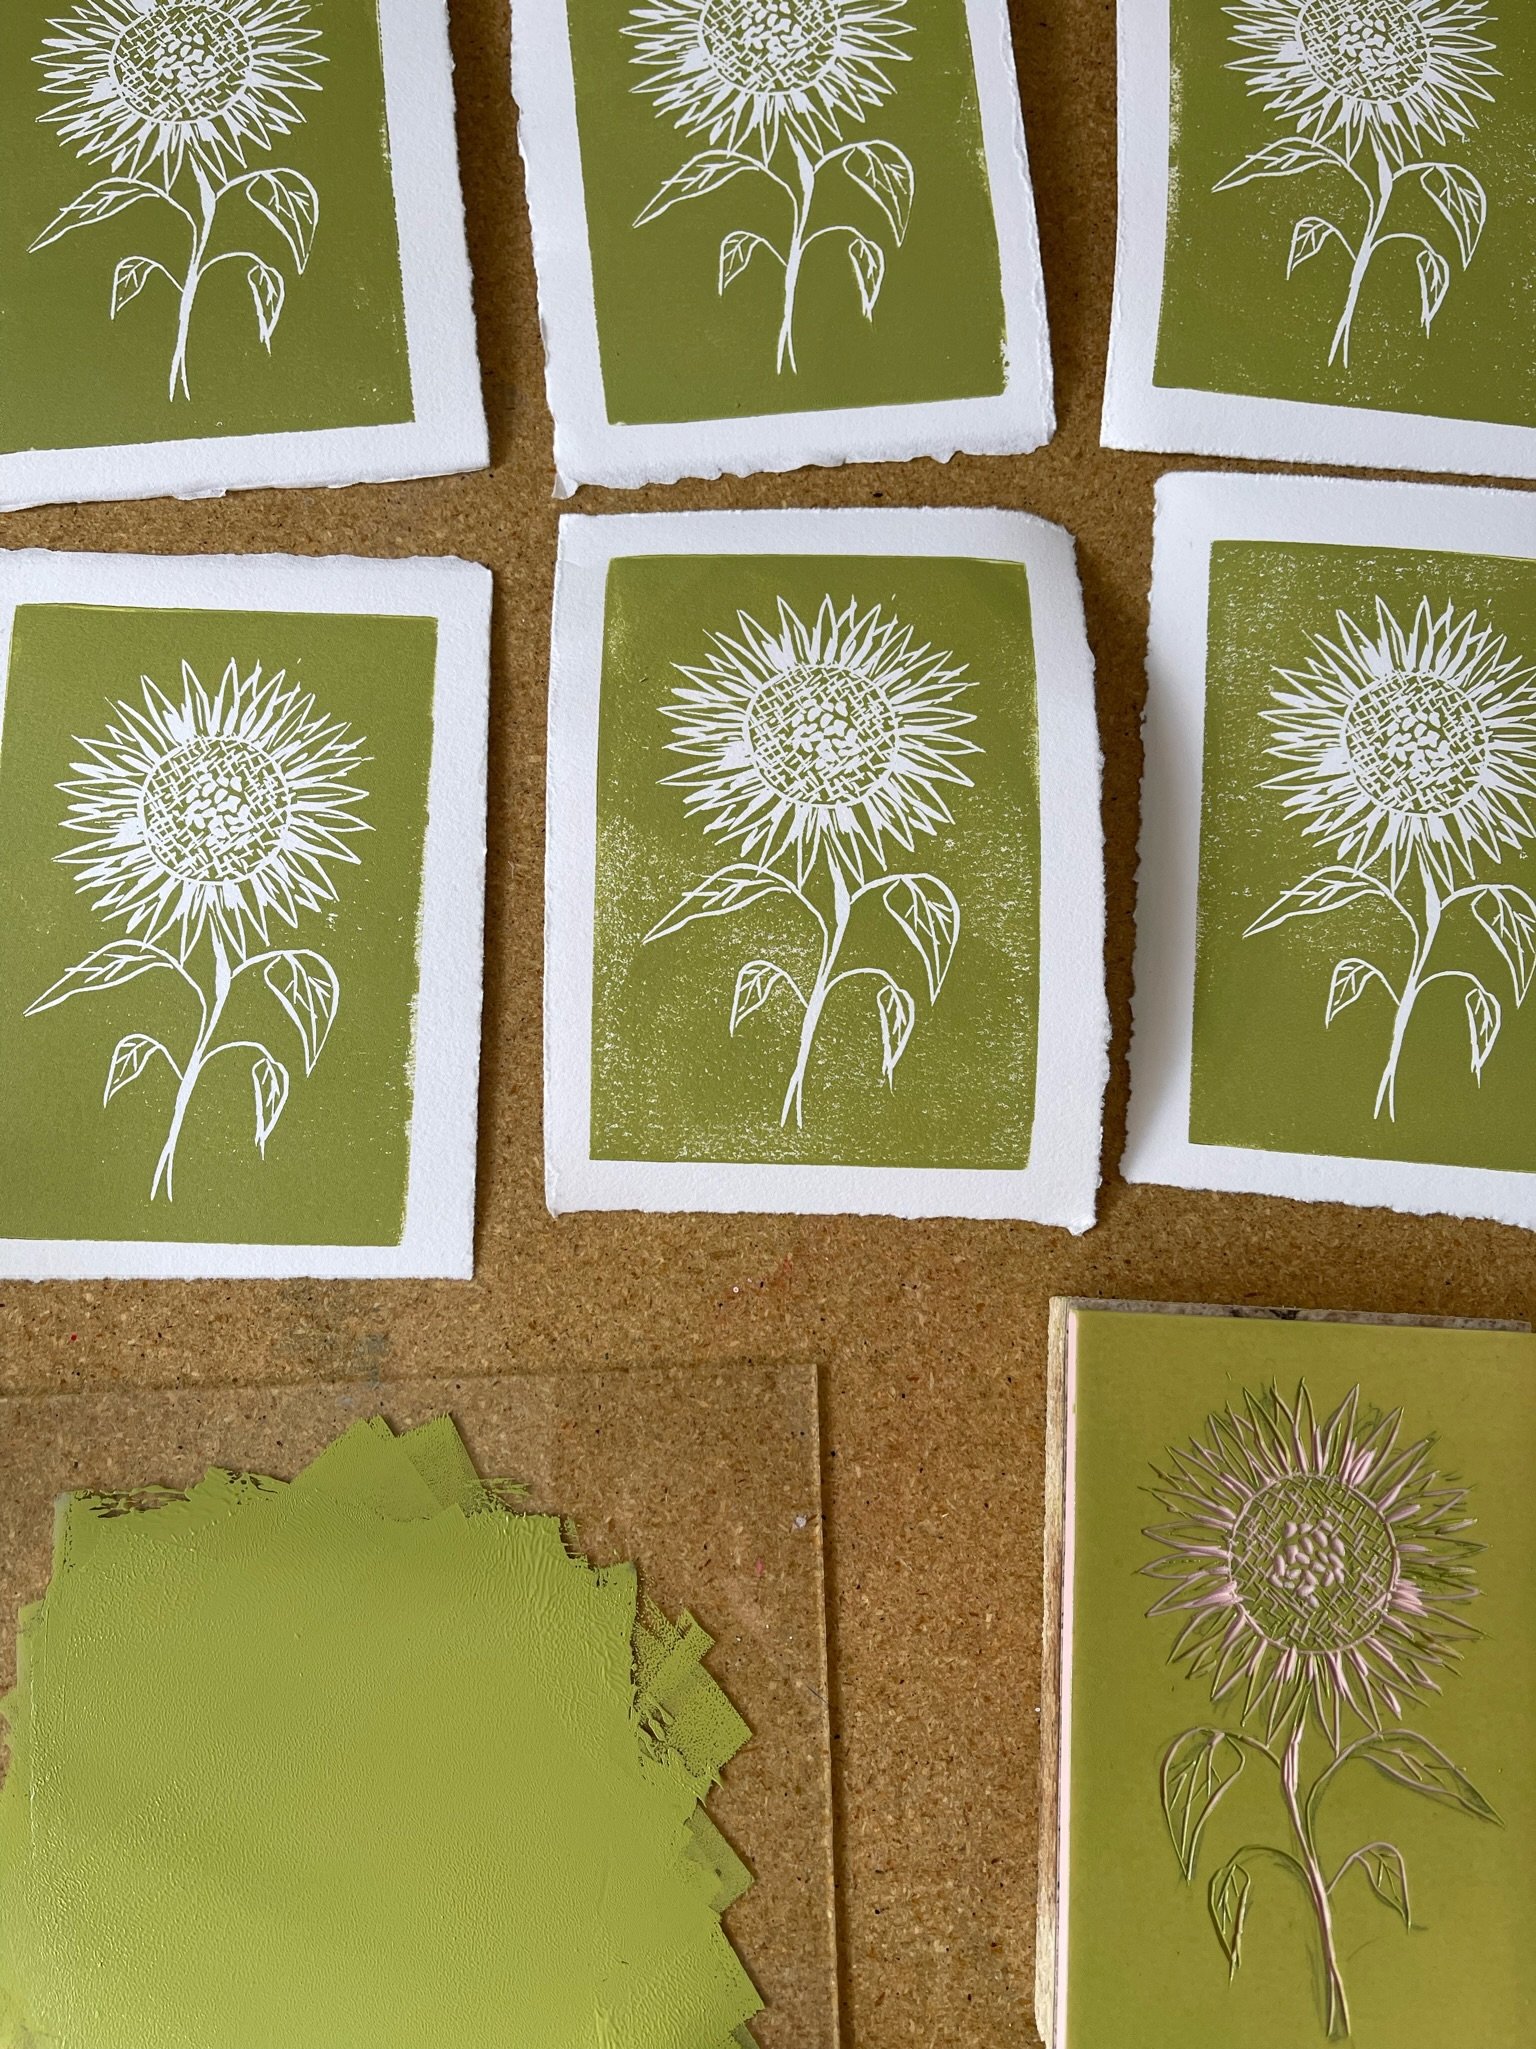
7. Roll the ink onto the block, covering it completely and evenly. I always try and roll out the ink as thin layers, building them up until the surface is covered.

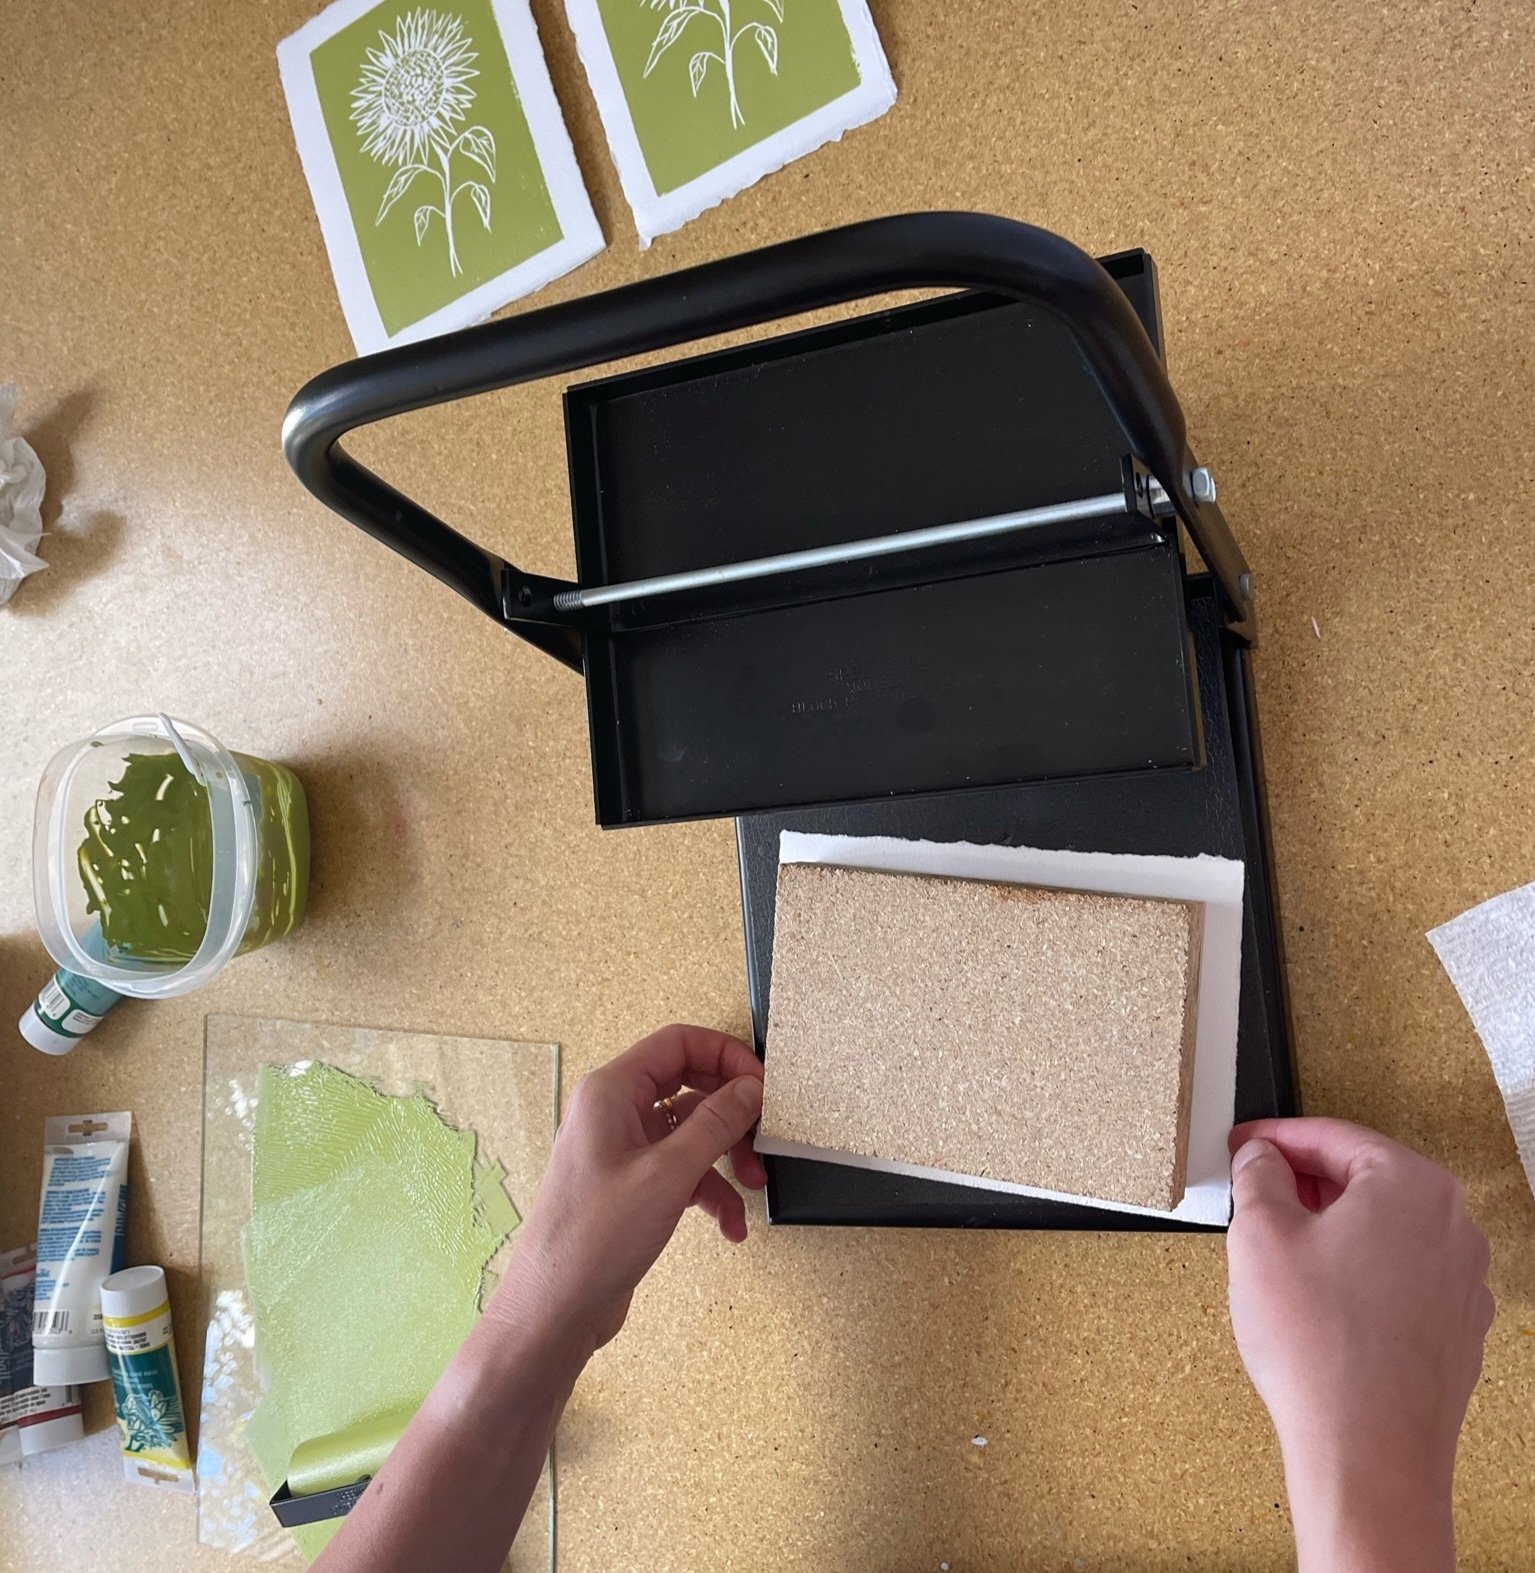
8. If you’re using the press*- place your paper on the press, and then place the block ink-side down over your paper, centering it as much as possible. Make sure that the block and paper are underneath the printing press, then pull down hard on the handle. Pull the handle back up, and slowly peel your paper away from the block OR
9. If you’re using a baren* (I used a press instead, but if you don’t want to purchase a press, a baren can be a great alternative- it helps you to apply equal pressure throughout the surface of your printing block)- place your printing block ink-side up on a flat, hard surface. Place your paper face down on top of your printing block, centering it as much as possible. Using a baren, rub the surface of your paper, applying pressure throughout any area where it touches the block. Then, slowly peel the paper away from the block.
10. Number, title, and sign your prints! If you are printing a limited number (say, 10), you can use a pencil to label each limited edition print with a number in the lower lefthand corner as a fraction (i.e. 1/10), the title in the center, and your signature/date in the lower righthand corner.
*If you’re planning on doing this just once/for fun, I would recommend skipping the printing press, as it is pretty pricy for one-time use, and using something like a wooden spatula or the bottom of a ramekin as a baren instead. I’ve found that the press has made printmaking SO much easier, and has made my prints much more consistent, but the press isn’t 100% necessary!
IDEAS FOR USING YOUR BLOCK PRINTS
Turn your block prints into greeting cards or notecards
Make tiny block prints for gift tags
Purchase fabric inks and experiment with printing your designs on fabric- while I haven’t done this yet, I’ve heard that this works really well with linen fabric or a cotton/linen blend! I would love to try printing on my own scarf, pareo, or napkins.

ACCOMmODATIONS FOR PRINTMAKING WITH KIDS
When I taught, I used lino-cutters with students grades 4 and up- remind them, though, to cut away from themselves/their bodies, and make sure that you’re there to supervise (probably goes without saying!) You can also have them use a bench hook, which keeps the linoleum from slipping while carving.
With younger kids (grades K-3)- you can introduce printmaking by having them “carve” into a piece of a styrofoam tray (meat trays work great) with a semi-dull pencil.
BFK Rives paper is fabulous but a little pricy- if I were doing this with young kids, I would have them use white cardstock!